
Luxury vinyl plank flooring has taken the home improvement world by storm, and for good reason. It’s durable, waterproof, affordable, and looks remarkably close to real hardwood. If you’re wondering how to install LVP flooring in your home, you’re in the right place. This guide walks you through every step of the process, from subfloor prep to the final row, so you know exactly what’s involved before you pick up a rubber mallet.
Whether you’re a hands-on DIYer ready to tackle the project yourself, or a homeowner who wants to understand the process before hiring a professional installer, this complete guide covers what you need to know. One thing you’ll quickly discover: the prep work makes or breaks an LVP installation. Get that right and the rest follows smoothly.
What Is LVP Flooring and Why Is It So Popular?
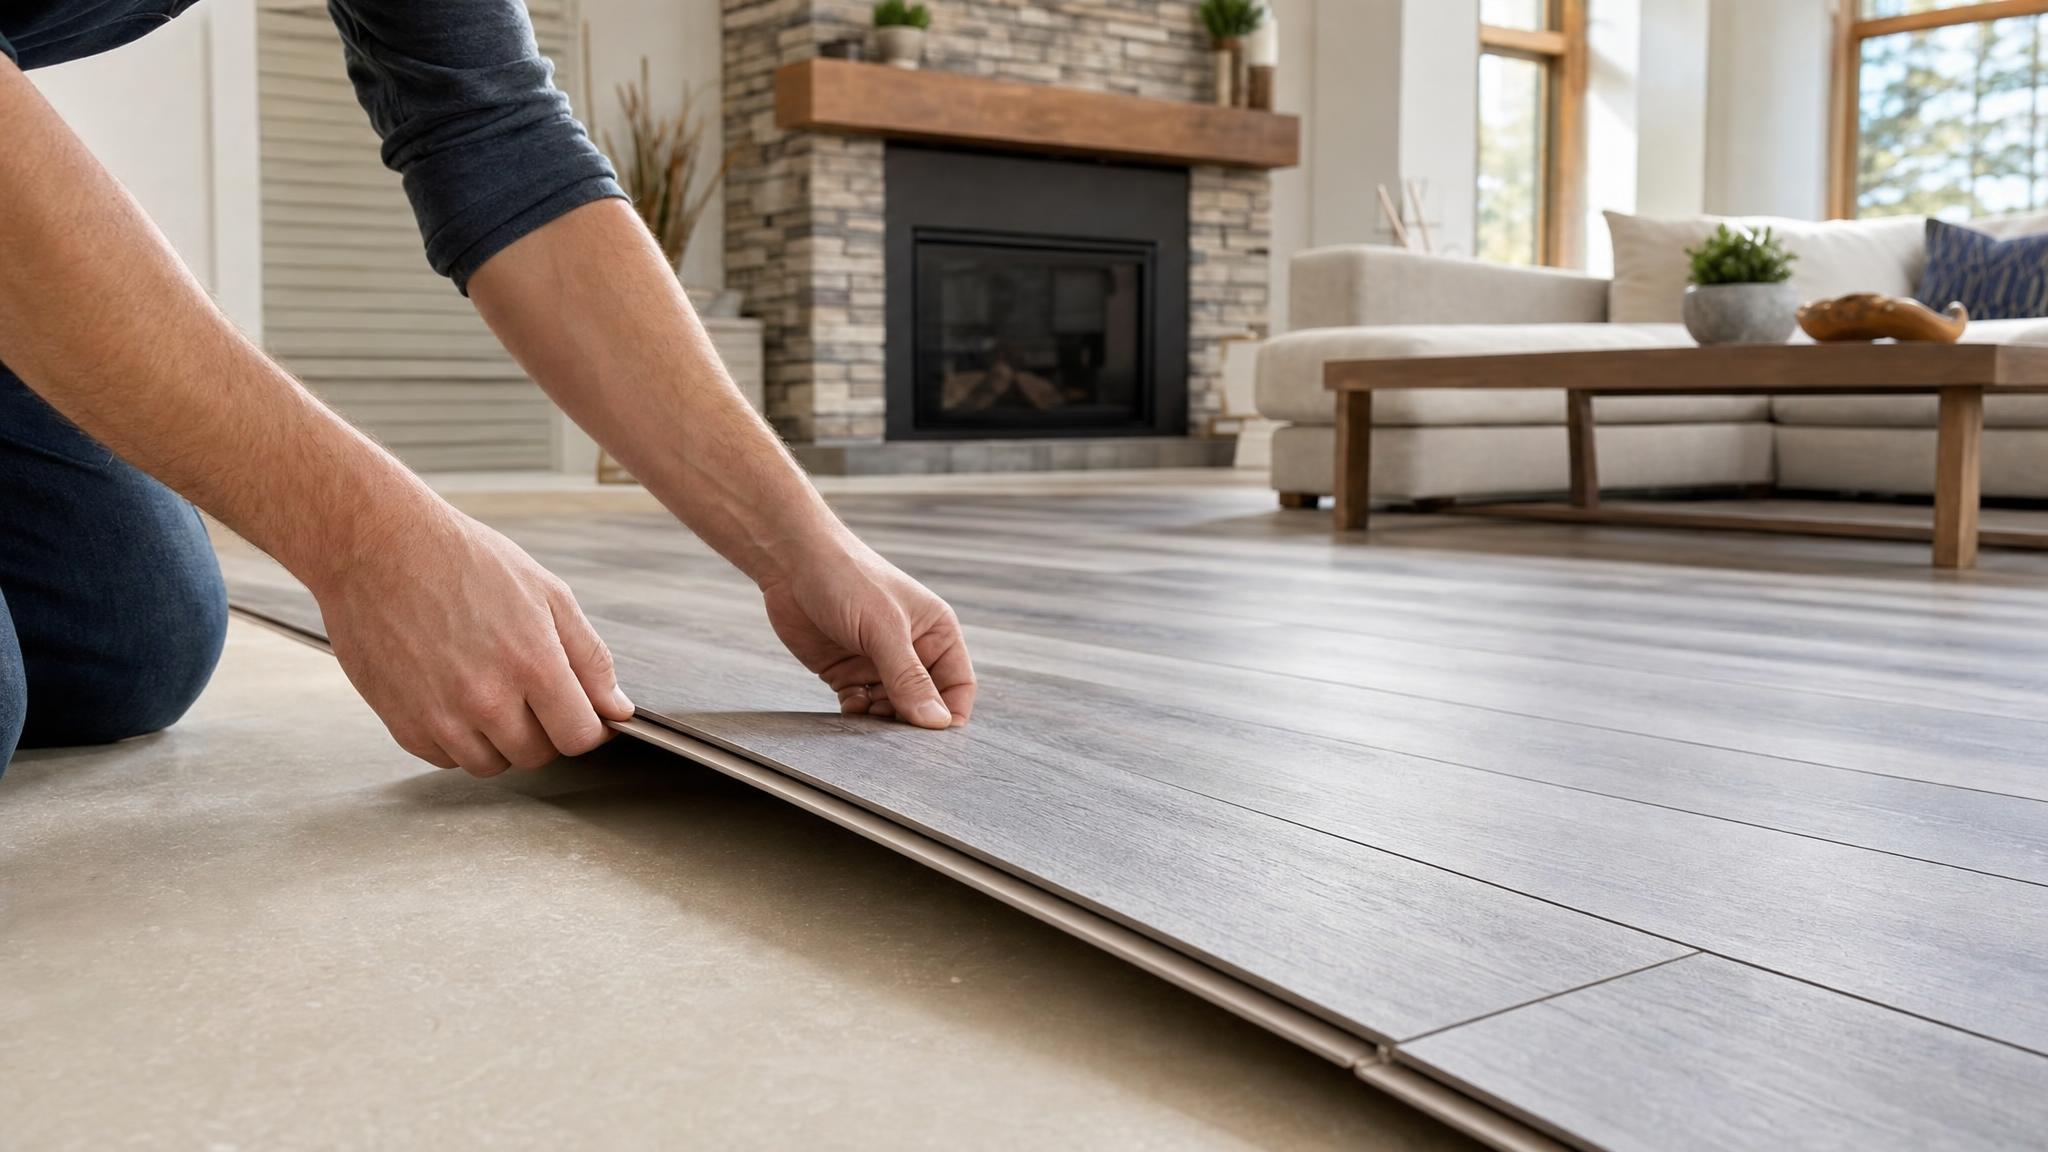
Luxury vinyl plank flooring is a multi-layer synthetic flooring product designed to mimic the look of hardwood. A typical LVP plank consists of a wear layer on top (which resists scratches and stains), a printed design layer, a core layer (usually rigid WPC or SPC), and an attached underlayment at the bottom.
LVP has surged in popularity because it delivers on several fronts that hardwood can’t match:
- 100% waterproof core (most modern LVP) makes it ideal for kitchens, bathrooms, and basements
- Scratch and dent resistance holds up well with kids and pets
- Floating installation means most DIYers can install it without adhesives or nails
- Cost runs significantly lower than solid hardwood or engineered wood
According to the Floor Covering News industry data, LVP has been the fastest-growing flooring category for several consecutive years, now accounting for a major share of new residential flooring installations in the U.S.
Tools and Materials You’ll Need Before You Start How to Install LVP Flooring
Before you open a single box of planks, gather everything on this list. Stopping mid-installation to hunt down a missing tool is how mistakes happen.
Tools
- Tape measure and chalk line
- Utility knife or LVP/vinyl cutter
- Miter saw or circular saw (with a fine-tooth blade)
- Rubber mallet and tapping block
- Pull bar (for tapping the last row into place)
- Spacers (3/8″ to 1/2″ for expansion gaps)
- Carpenter’s square
- Level or straightedge (at least 6 feet long)
- Floor roller (optional but recommended for glue-down LVP)
Materials
- LVP flooring planks (order 10% extra for cuts and waste)
- Underlayment (if not pre-attached to your planks)
- Transition strips (for doorways and room changes)
- Baseboards or quarter-round molding (to cover expansion gaps)
Step 1: Prepare Your Subfloor
Subfloor preparation is the most critical part of how to install LVP flooring. LVP is thin and will telegraph every imperfection beneath it, including high spots, low spots, debris, and moisture. Rushing this step causes planks to click apart, create hollow sounds underfoot, or shift over time.
Check for Flatness
LVP manufacturers typically require the subfloor to be flat within 3/16″ over a 10-foot span. Use your 6-foot straightedge to sweep across the floor in multiple directions. Mark any high or low spots with a pencil.
- High spots: Sand or grind down concrete subfloors. For plywood, use a belt sander.
- Low spots: Fill with floor-leveling compound and let it cure fully before proceeding.
Check for Moisture
Moisture is LVP’s nemesis when it comes to subfloor integrity. Even though the planks themselves are waterproof, moisture vapor migrating up through a concrete slab can compromise the locking joints over time. Tape a piece of plastic sheeting (about 18″x18″) to the concrete with all edges sealed and leave it for 24-48 hours. If condensation forms on the underside, you have a moisture problem to address before installation.
Clean Thoroughly
Sweep and vacuum every inch. Remove staples from old carpet padding. If installing over existing vinyl or tile, make sure it’s firmly bonded and level (LVP can go over single layers of well-bonded existing flooring in most cases).
Step 2: Acclimate Your LVP Planks
Most LVP manufacturers recommend acclimating planks to the room’s temperature and humidity for 24 to 48 hours before installation. Store the boxes flat in the room where they’ll be installed, not in a garage or on a cold concrete floor. The room should be at its normal living temperature (between 65°F and 85°F).
This step matters because LVP does expand and contract slightly with temperature changes. Installing cold planks in a warm room, or vice versa, means the floor will shift after installation and potentially create gaps or buckle at seams.
Step 3: Plan Your Layout
Never start laying planks from the wall without planning your layout first. A few minutes of planning prevents the most common visual problem: ending a row with a sliver of plank less than 2 inches wide, which looks unfinished and awkward.
Calculate Your Starting Width
Measure the width of the room and divide by the width of a single plank. Check what the last row width will be. If it’s less than 2 inches, rip your first row narrower so your last row ends at a more visually balanced width.
Establish a Straight Reference Line
Snap a chalk line parallel to the longest, straightest wall in the room. This is your guide line. If that wall is out of square (common in older homes), use your carpenter’s square to establish a true 90-degree reference line instead of following the wall.
Determine Plank Direction
Run planks parallel to the longest wall in the room for the most natural look. In narrow hallways, run planks lengthwise. In rooms with large windows, running planks perpendicular to the light source can emphasize the wood-look grain. For LVP locking systems specifically, understanding how the planks connect matters, since different lock types (2G, 3G, 5G) affect how you angle and click planks together. Learn more about LVP locking systems to understand which type your planks use before you start.
Step 4: Install the Underlayment (If Needed)
Many modern LVP planks come with an underlayment pre-attached. If yours do, skip this step entirely. Do not double-layer underlayment; it causes the locking joints to flex too much and will eventually fail.
If your planks don’t have pre-attached underlayment, roll it out perpendicular to the direction you’ll be installing the planks. Butt the edges together (don’t overlap) and tape the seams. Leave no gaps. Keep underlayment back from walls slightly, as your baseboard will cover that edge anyway.
Step 5: Install Your LVP — Row by Row
Now the actual luxury vinyl plank installation begins. Place spacers against the starting wall to maintain your expansion gap (3/8″ to 1/2″ minimum, check your manufacturer’s spec). This gap is essential: LVP expands and contracts with temperature, and without room to move, it will buckle.
First Row
- Place the first plank groove-side toward the wall (tongue facing out into the room).
- Continue along the wall, clicking planks end-to-end for the length of the row.
- Cut the last plank to fit, leaving your expansion gap at the end wall.
- Save the cut-off piece if it’s at least 8 inches long — it starts your second row.
Subsequent Rows
- Stagger the end joints by at least 6-8 inches (H-joints, where two rows line up end-to-end, are a weak point and look bad).
- Angle the plank’s long edge into the previous row’s groove and press down to lock. Use the rubber mallet and tapping block to fully seat stubborn joints.
- Pull the short ends together using the pull bar against the wall end.
Working Around Obstacles
For doorframes and door casings, undercut the casing so the plank slides underneath (a jamb saw or sharp utility knife works for this). For pipes, drill a hole slightly larger than the pipe diameter, make a cut from the hole to the nearest edge of the plank to slide it around the pipe, then glue the cut piece back in place.
Step 6: Install the Last Row
The last row almost always needs to be ripped (cut lengthwise) to fit. Measure the remaining space, subtract your expansion gap, and rip planks to that width. Use your pull bar to pull the final row tight against the previous row, since you won’t have room to use the tapping block.
Step 7: Install Transitions and Baseboards
Once all planks are down, remove your spacers and install transition strips in doorways and wherever the LVP meets a different flooring surface. Common transition types include T-molding (LVP to LVP or LVP to same-height tile), reducer strips (LVP to lower surfaces), and end caps (at sliding doors or thresholds).
Reinstall or install new baseboard molding or quarter-round along all walls to cover the expansion gaps. Do not nail through the LVP itself, and don’t nail the baseboard so tightly that it pins the flooring in place. The floor needs to float freely.
Common LVP Installation Mistakes to Avoid
The LVP installation steps seem straightforward, but these are the mistakes that cause the most problems:
- Skipping subfloor prep. More installations fail from a bad subfloor than from any other cause. That hollow, spongy sound underfoot is almost always a subfloor issue.
- Not leaving an expansion gap. Buckling in warm months is the result of planks with nowhere to expand.
- Forgetting to acclimate. Especially important in climates like Alpharetta, GA, where summer humidity swings are real and significant.
- Misaligned joints. H-joints and joints less than 6″ apart from row to row will show over time and create structural weak points.
- Pinning the floor with baseboard nails. The float needs to float. Nailing the trim into the floor itself locks it in place and forces it to buckle.
DIY vs. Professional LVP Installation: Honest Assessment
LVP is one of the more DIY-friendly flooring options available. Floating click-lock installations don’t require adhesives, specialized tools, or advanced skills. A careful, patient homeowner with a weekend and the right tools can absolutely tackle a straightforward room.
That said, professional installation makes sense in several situations:
- Large or complex rooms with multiple angles, stairs, or irregular shapes
- Subfloor issues that require significant repair (moisture problems, severe unevenness)
- Glue-down LVP, which has less room for error and requires different technique
- When your time has real value and you want a result that comes with a warranty
At BEC Flooring in Alpharetta, our installation teams handle everything from straightforward rectangular rooms to complex multi-room projects with stairs and transitions. We carry major brands including premium LVP lines in our showroom with in-stock options, guaranteed. No factory seconds, no waiting weeks for your order to arrive.
If you’re comparing your flooring options more broadly, take a look at our breakdown of the best LVP flooring by wear layer and thickness to understand what to look for before you buy.
Frequently Asked Questions About How to Install LVP Flooring
How long does it take to install LVP flooring in an average room?
An experienced DIYer can install LVP flooring in a 300-400 square foot room in one full day, including subfloor prep and transitions. A professional crew can complete the same room in 3-5 hours. Larger rooms, complex cuts, or significant subfloor repairs will add time to either scenario.
Can you install how to install LVP flooring over concrete?
Yes. LVP installs well over concrete as long as the slab is flat (within 3/16″ per 10 feet), dry, and clean. Concrete is actually one of the most common subfloor types for LVP because it’s stable, flat, and LVP’s waterproof core handles any residual moisture better than hardwood or laminate would.
Do I need underlayment for LVP installation?
Check your planks first. Most modern LVP includes pre-attached underlayment, which handles sound absorption and minor subfloor imperfections. If your planks have it, do not add a separate layer underneath. Double underlayment causes joint flex that leads to lock failure over time. Only add separate underlayment when your planks don’t include it.
How do I cut LVP planks without a saw?
A sharp utility knife and a straightedge work for straight cuts: score the top surface firmly, then snap the plank along the score line. This works well for length cuts and simple crosscuts. For notches, curves, or cuts around pipes and door frames, a jigsaw or circular saw with a fine-tooth blade gives you more control and cleaner results.
Ready to Install LVP Flooring in Your Alpharetta Home?
Now you know exactly how to install LVP flooring, from subfloor prep through the final baseboard. It’s a manageable project for capable DIYers, and understanding the process is valuable even if you choose to hire a professional, because you’ll know what questions to ask and what to look for in a quality installation.
BEC Flooring serves Alpharetta and the surrounding North Atlanta metro area with both flooring sales and professional installation. We carry in-stock LVP options from trusted brands, with no factory seconds and no long waits for special orders. Call us at 678-534-3365 to schedule a free in-home consultation or visit our showroom at 1000 Union Center Drive, Suite C, Alpharetta, GA 30004.